I've had the idea for this little cushion floating around in my head for a few days and finally got to bring it to life yesterday. I am currently sorting out my sofa. The existing cushions that I made are OK, but they could do with a bit of a spruce up. A few really don't go since I finished my last crochet throw for the back of the sofa, some are fraying in places and others just really need a good Spring clean and press!
I feel a little sad for the ones that are getting a little ragged, as they are mainly my oldest makes. They have seen a lot of wear and shlumping (that sliding down the sofa motion, as you get tired in the evening,) over the last few years. I also have three large step children who are great at lounging and shlumping in ways I cannot comprehend, and a little girl who throws herself around something silly on the sofa. (I try not to be too precious as I know that kids just think pillows are for pillow fights.) I will try and recycle what I can from any cushions that are getting the chop!
Lace and bow upcycled cushion tutorial:
 These are the materials I used for the cushion (although I did have to rethink the buttons part way through making, as one was too big for my sewing machine to do a button hole.)
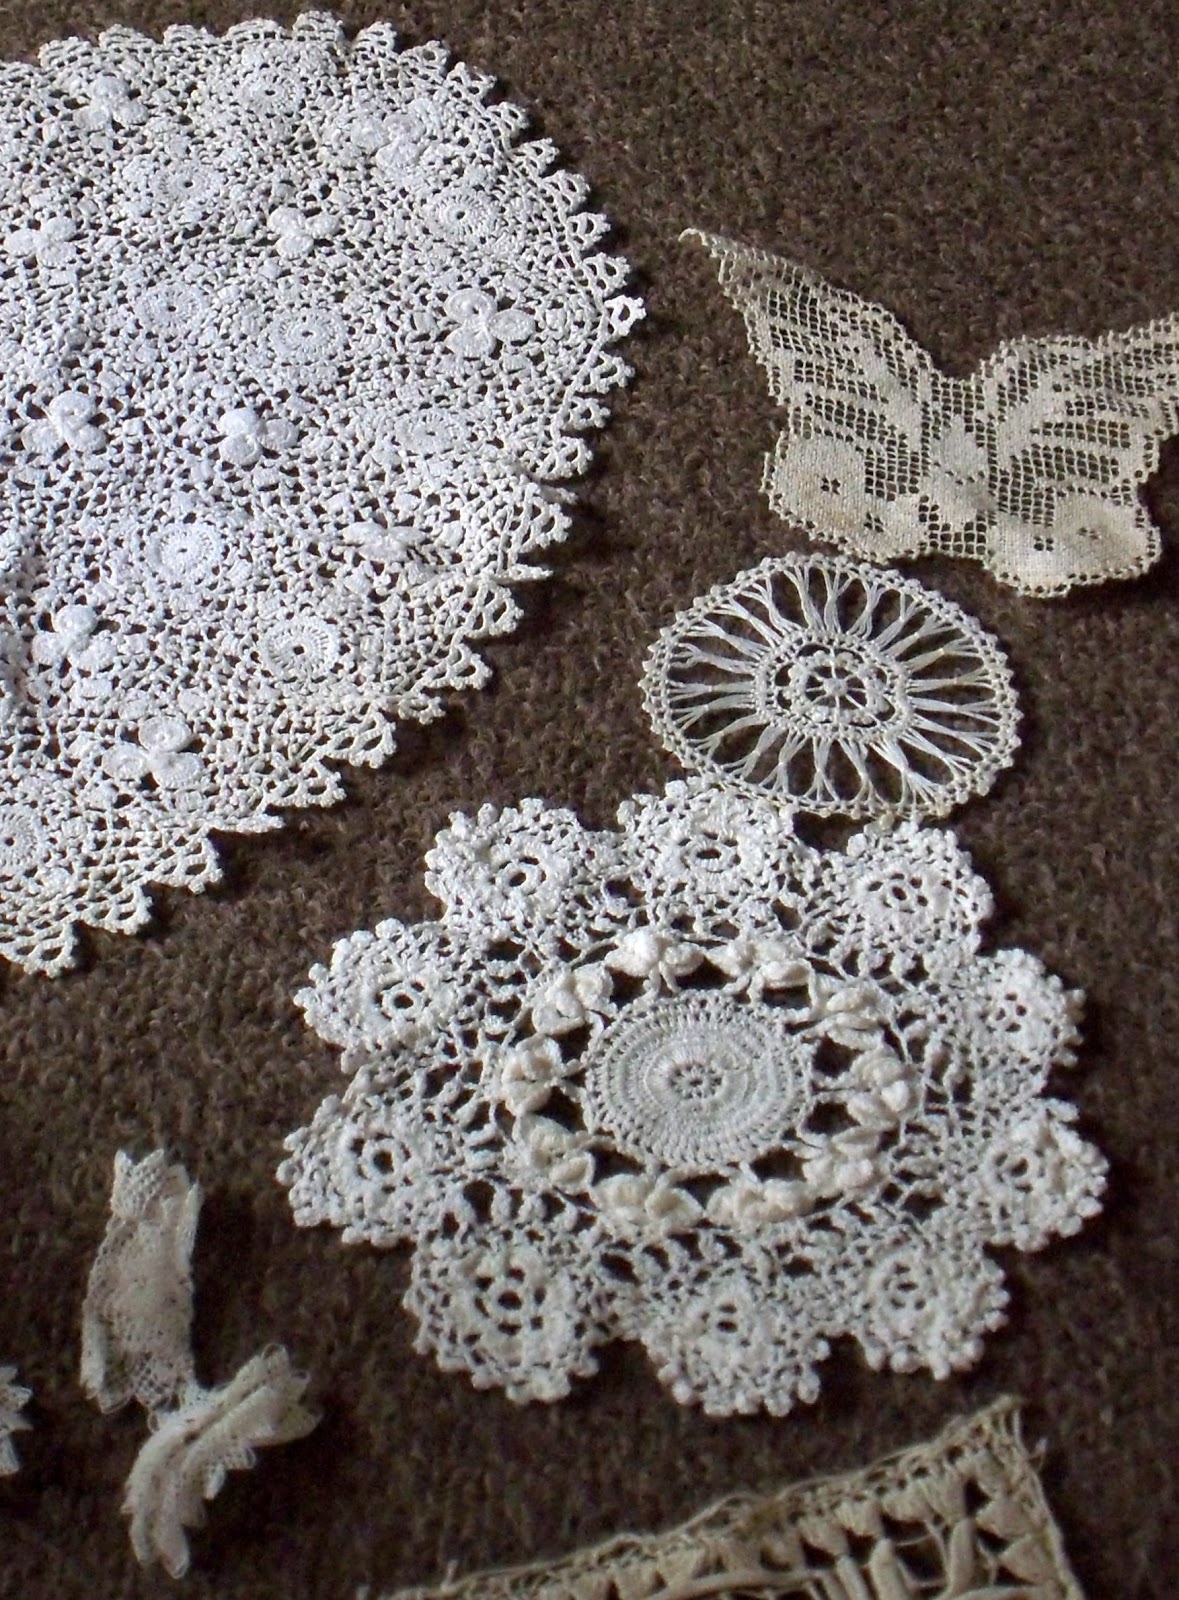
The lace piece, I think is one of those funny things that grannys put on the back of their arm chair, as it has a scalloped edge on one side only. I picked it up on a whim and then had no idea what to do with it. I certainly wasn't going to put it on any chair in its current state!
The fabrics are a piece of mustard cotton, to contrast the lace. You could use whatever colour you had to hand, but you want something that will show the lace off (so no putting cream fabric behind cream lace, because it will disappear.) A pale blue flowered fat quarter and a long scrap of pale blue miniature polka dot material.
Two cotton threads in cream and light pink.
1. Cut the lace piece into two, NO GOING BACK NOW! The front panel needs to be a square and the back panel was just what I had left over. Cut the mustard backing fabric to match (don't trim around the scallop edging just yet.) Pin lace and mustard fabric together.
2. Run this quickly through the sewing machine, all the way around the outside using straight stitch and cream thread to hold both fabrics together. When it comes to the scallop edge I used zigzag stitch (to prevent fraying) and did two rows of stitching, making sure to hide the stitches in the lace and that the outside row of stitching runs along the very edge of the lace piece. Trim neatly around the scallops. You can now remove all pins.
3. Change the thread to pink on the sewing machine and attach the button hole foot. Make sure you refer to your sewing machine manual at this point and do some testers on an old piece of fabric! I always forget where my machine starts the button hole and did four testers to get the stitches to look right before trying on my cushion back. Sew a button hole in the centre of each of your scallops, remembering to reset your machine before each one.
4. Place a pin in the end of the button hole (so you don't slice straight through the end) and open the button hole using a quick unpick and a small pair of scissors, being really careful not to cut through any of the little zigzag stitches.
5. Cut the blue floral fabric to fit the back of the cushion, remembering to leave plenty of room for overlap of the two backing fabrics, plus a little extra for hem. I left approx 8-10cm overlap between the blue fabric and scallop edging, as I don't want my cushion billowing open. This overlap is especially important if you're omitting the buttons and just doing a basic envelope opening on the cushion.
6. Change the sewing machine threads back to cream. Press and hem the blue floral fabric. I ran two rows of stitching along the hem.
7. Place all three pieces of fabric together, fronts facing inwards. ***Make sure your blue fabric is on top of your scallop fabric so that when you turn it inside out, your scallop will sit on top of your blue fabric!*** Pin in place, draw out your square shape for your cushion, making sure you leave at least a 1cm seam allowance. Run a straight stitch around your cushion.
8. Remove pins and turn right way around to check its all OK (as its easier to adjust/ unpick at this point) before turning back and reinforcing the stitches with a row of zigzag stitches. Trim any extra material and clip the corners. Keep all of the offcuts, we can use these for another project!
9. Turn the cushion right way around. Open the button holes and make a little mark in the centre of each, onto the blue floral fabric.
10. Use the pink contrasting thread to hand sew the buttons into place.
*You could leave it here and use the button side as the front of the cushion. I however wanted to add a bow to the other side of the cushion and use that as the front, as I find buttons can be a little uncomfortable to sit against.
11. Add bow detail to cushion front using ladder stitch and cream thread.
*I will do a separate How To, for the bow as this is becoming quite a lengthy tutorial. The bow is so quick and simple, you will want to be adding bows to everything!
12. Make custom sized filling for your cushion from recycled cushion stuffing and an old pillowcase.
TaaDaah!!!! A questionably fussy, frumpy, frilly lace piece, turned into a sophisticated and smart little cushion, all in an afternoon! I love the pale blue and cream with just a pop of yellow peaking out from behind, and think that it ties in nicely with my ongoing colour scheme. Please children don't jump on my tiny pretty pillow!
I hope this gives you a little inspiration for what to do with some of those lace pieces you might have been collecting. Happy sunny Sunday to you all! :o)